ISOWARE depends on the following third-party software being installed on your computer: the server:
| Usage | Name | Version |
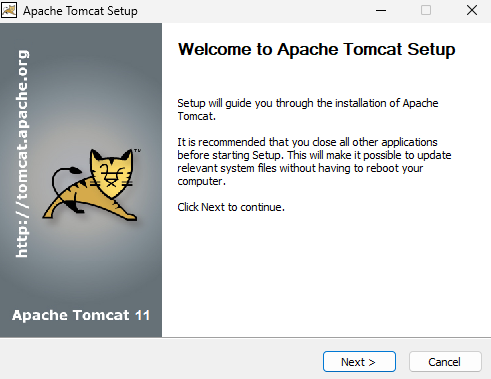
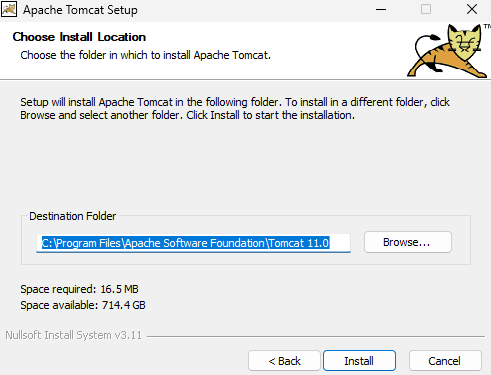
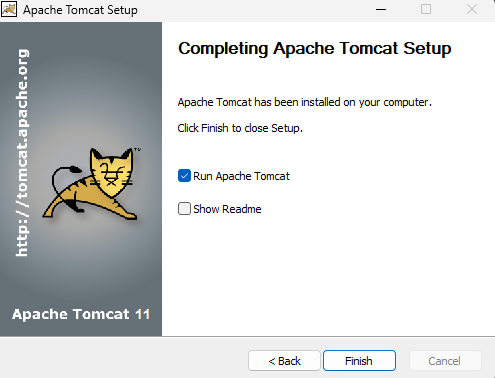
| Web server | Apache Tomcat | 11 |
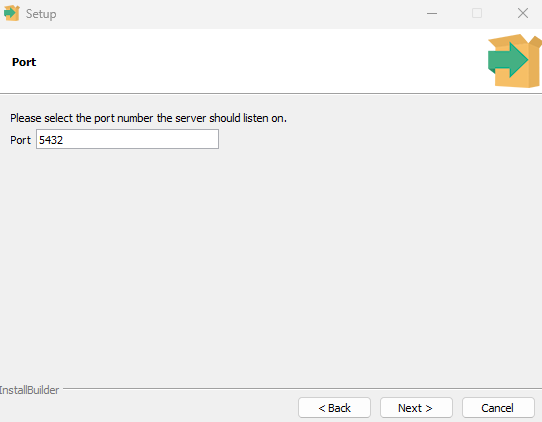
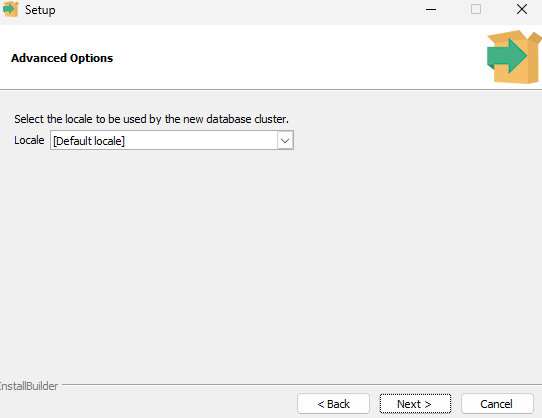
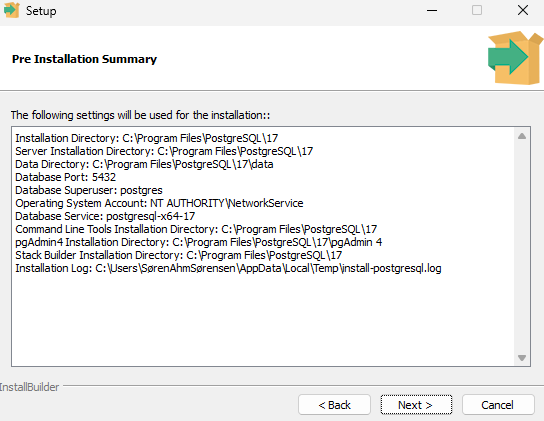
| Database Server | PostGreSQL | 17 |
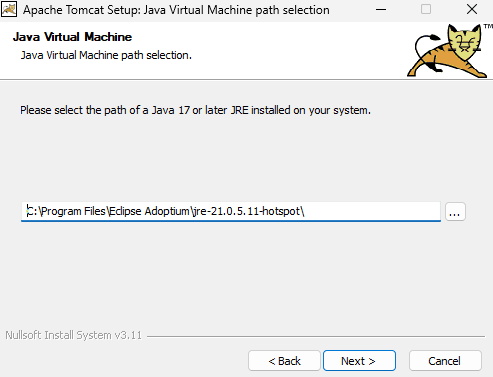
| Virtual Machine | Java Runtime Edition (JRE) | 21 |
The current version of ISOWARE is optimized to be run on Apache Tomcat 11, PostGreSQL 17 and Java 21.
If previous versions of Java are installed on the machine on which ISOWARE is to be run, it is necessary to install Java 21. We recommend that the existing Java is uninstalled and replaced with Java 21.
Java 11 can currently be downloaded here: https://adoptium.net/temurin/releases.
Please note that this version of Java does not contain an automatic update function, so you must make sure to download and install new versions at appropriate intervals.
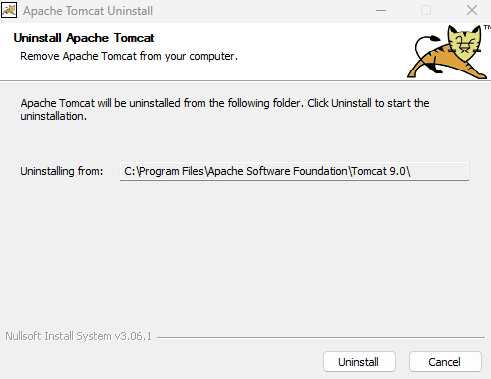
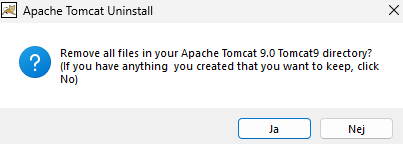
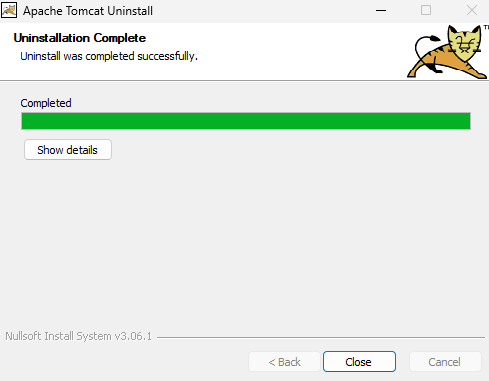
If ISOWARE is installed on previous versions of Apache Tomcat, it is necessary to update this, as ISOWARE cannot be run on previous versions.
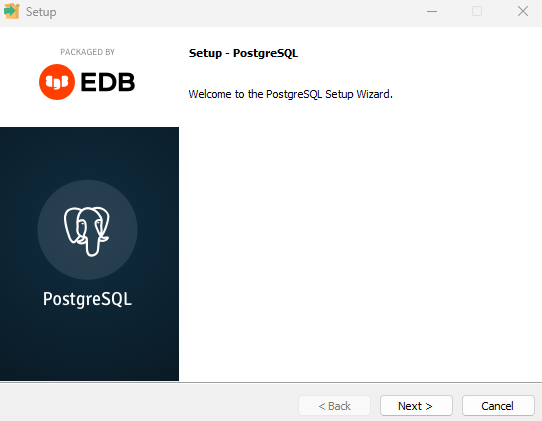
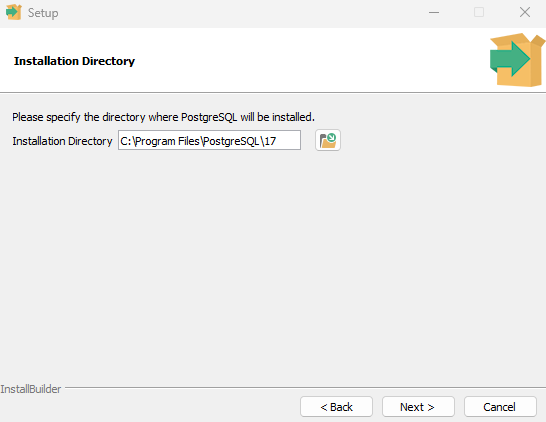
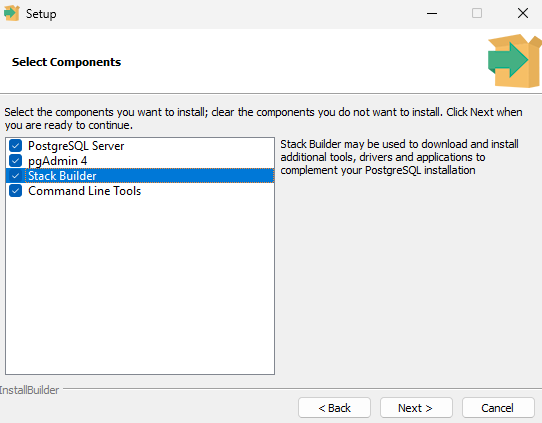
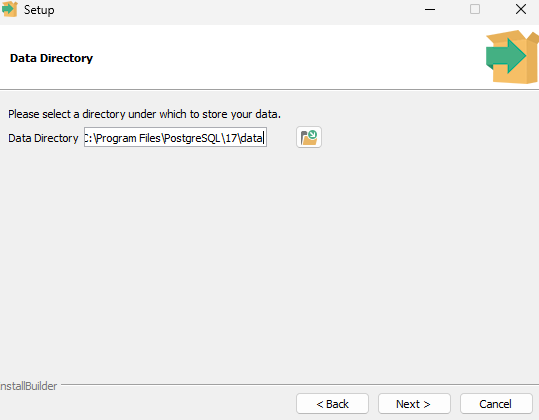
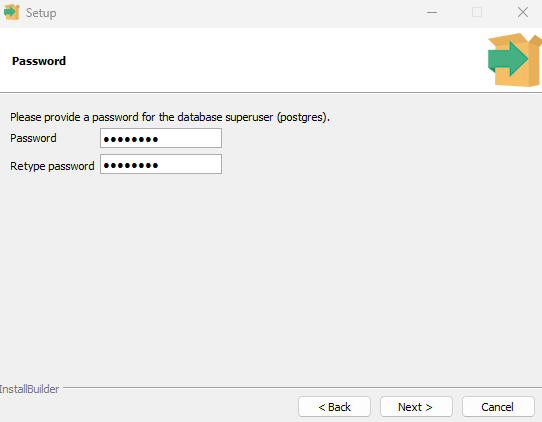
If PostGreSQL is used in an earlier version, it is recommended to update it to the recommended version.
NOTE: Postgres 17 requires Windows Server 2019 or 2022.
If ISOWARE is to be run on an earlier version of Windows Server, we recommend that you do not update PostgreSQL.
Please follow the instructions in the sections Appendix I - Updating Apache Tomcat and Appendix II - Updating PostGreSQL to update these to the recommended versions.
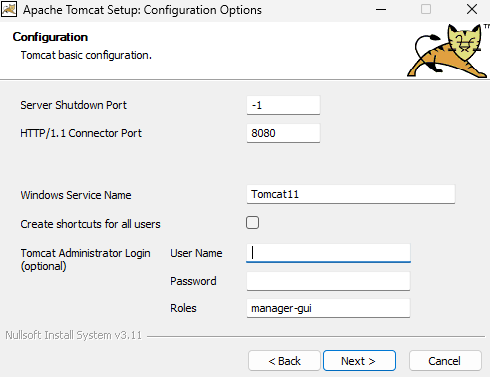
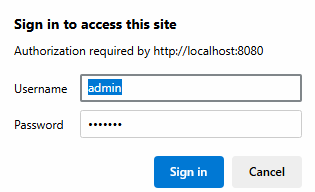
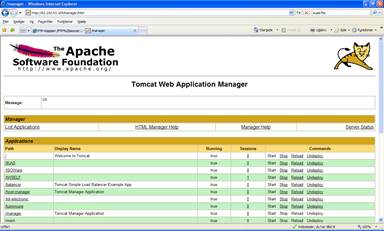
In the following sections, it is assumed that Apache Tomcat is installed on the server you are logging on to, that Apache Tomcat is set to run on port 8080, and that the ISOWARE application is deployed with the name ISOWARE. If this is not the case, the address used (http://localhost:8080/ISOWARE) must be replaced with http://server:port/application, where server is the network name or IP address of the server. the server used, port is the port that Apache Tomcat listens on and application is the chosen name for the ISOWARE application, e.g. http://server01:8080/qualitymanagement. If Apache Tomcat is set to listen on port 80, the :port part can be omitted, e.g. http://server01/qualitymanagement.
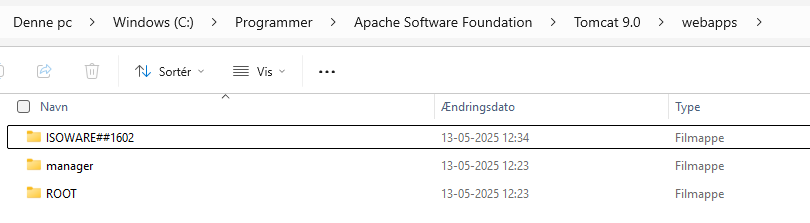
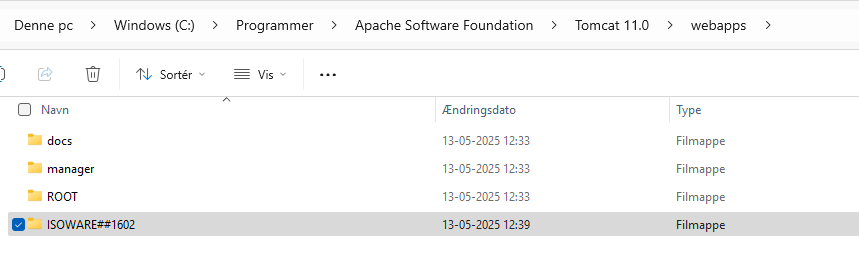
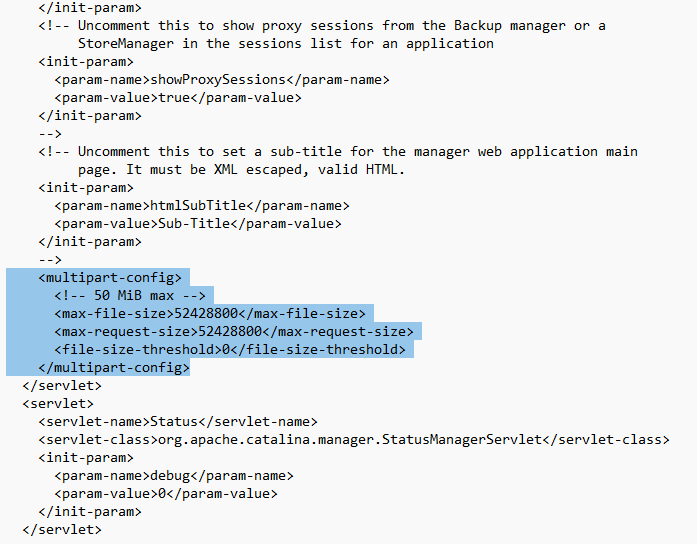
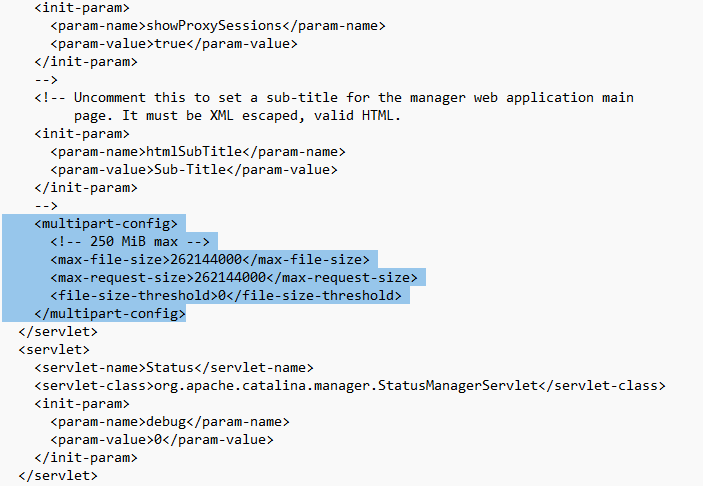
If, as in the example above, you want the application to be called /qualitymanagement instead of /ISOWARE, you must rename the downloaded .war file to qualitymanagement##1700.war before deploying it on the server. server.
The following steps must be performed in the update:
Please perform the steps in the above order.
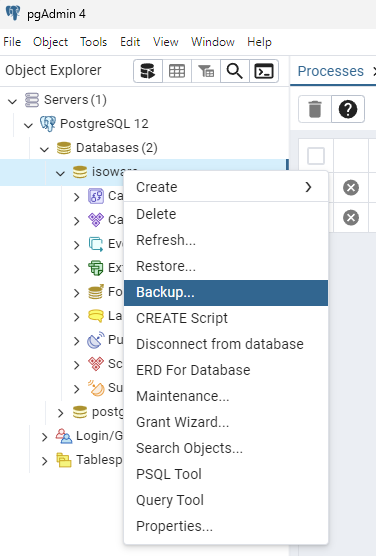
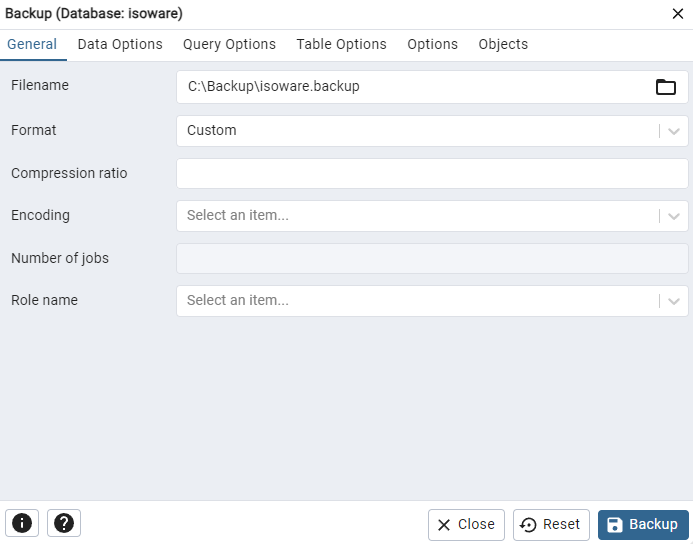
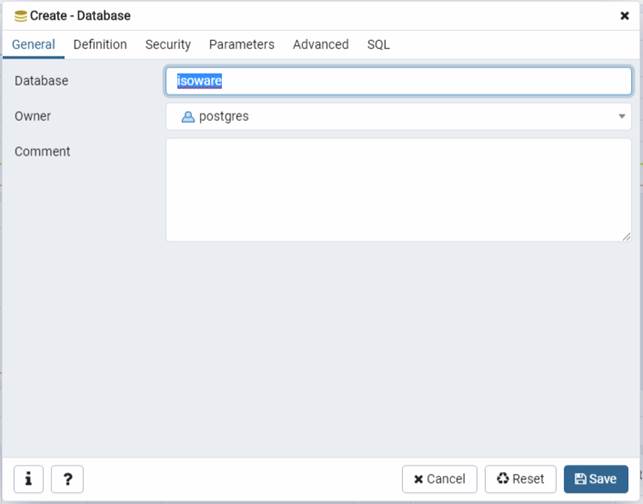
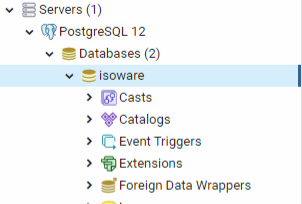
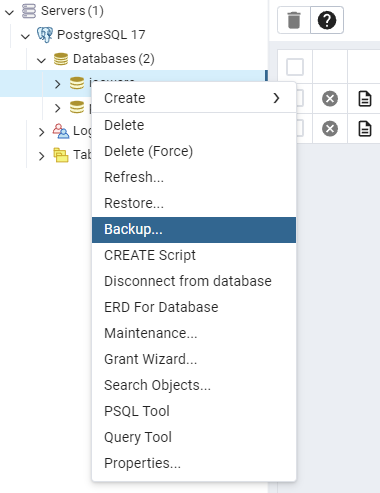
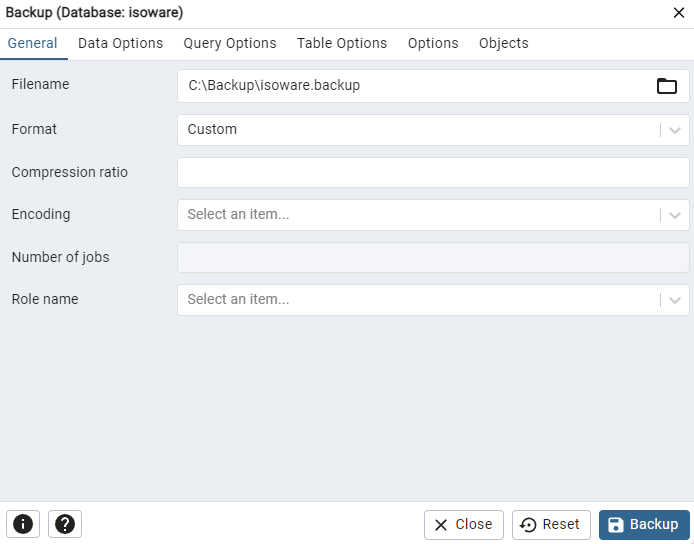
It is highly recommended that you take a backup of the existing database, as it allows you to roll back the system to the original configuration.
Here's how:

ISOWARE is updated by deploying a new .war (Web Archive) file on the Apache Tomcat web server.
Here's how:

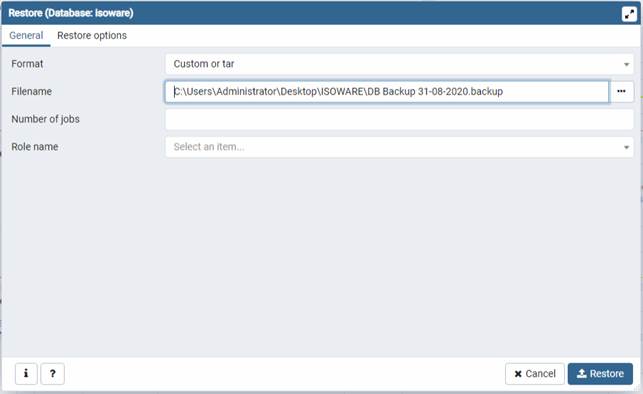
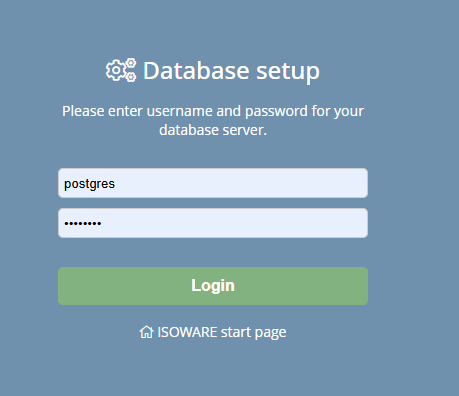
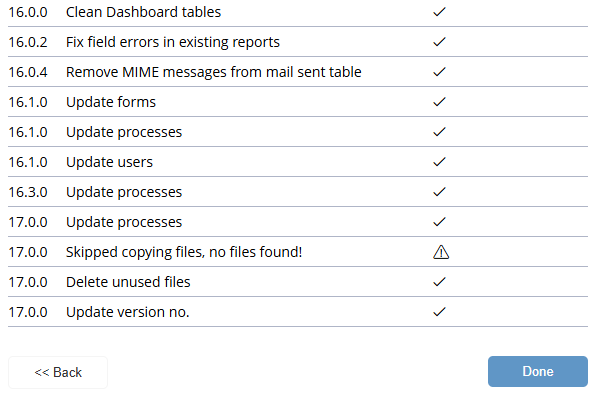
When you have finished deploying the new .war file, an update of the ISOWARE database must be made.
Here's how:

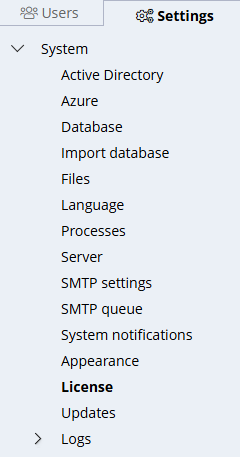
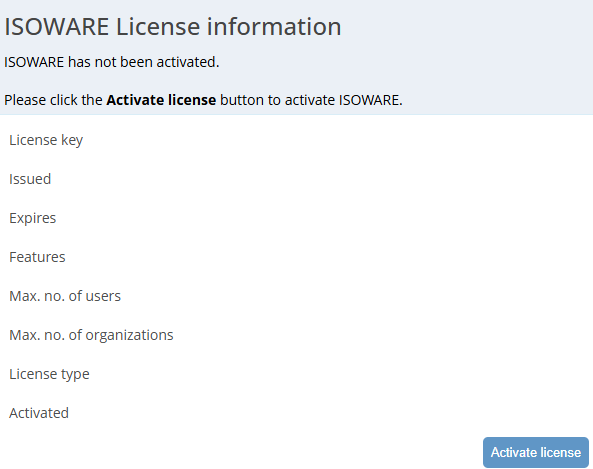
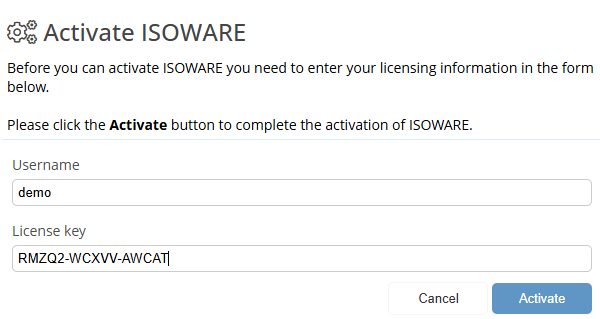
In order to use ISOWARE after an update, if this has not already been done in connection with previous updates, you must enter license information. The license information is received from ISOWARE A/S.
The message License check failed appears when users try to log in if the license is not valid for the ISOWARE version that you have installed.
Here's how:

The old version of ISOWARE is removed by undeploying the old .war file on the Apache Tomcat web server.
Here's how:

Please write to support@isoware.dk or call tel. 70 22 00 34 if you wish to request assistance in performing the update.